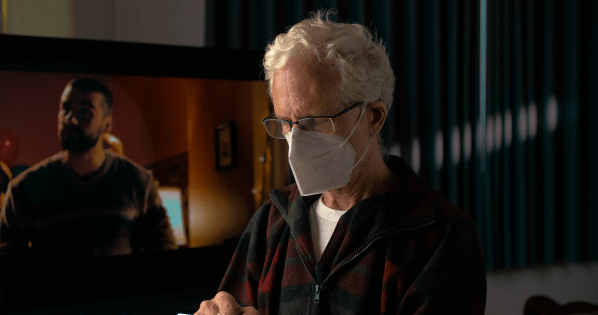
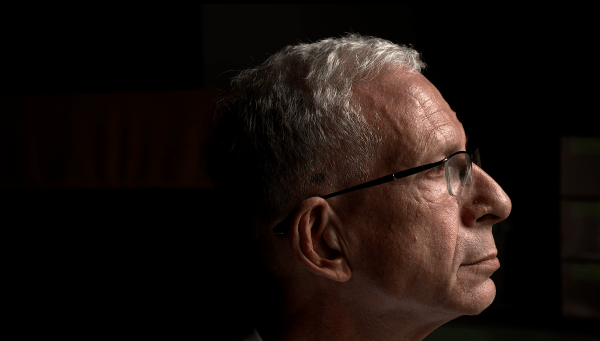
Note: The video should be watched in a pitch-dark room. HDR is supposed to be graded in an environment with ambient lighting at 5 nits, which might help to explain why so many complain about HDR being so dark. Unlike SDR, the PQ curve is absolute, meaning that, unlike SDR, the image can't be made... Continue Reading →
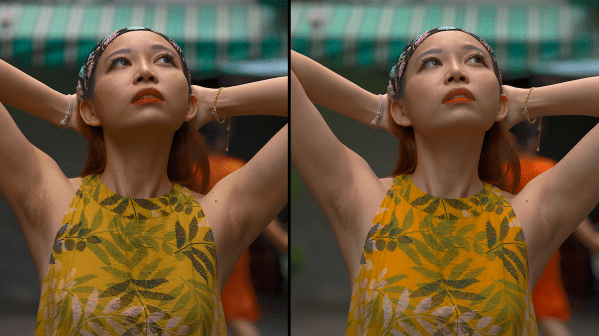
Create Color Separation & Textural Depth in DR18