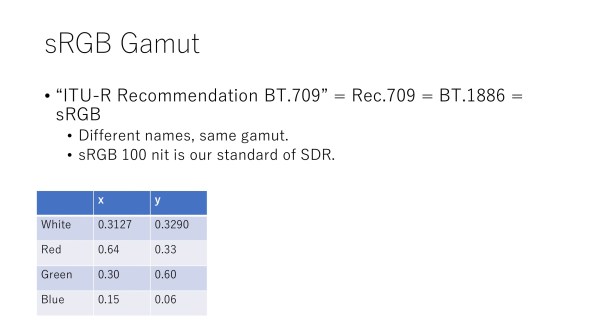
In a technical talk from SIGGRAPH Asia 2018 on Gran Turismo SPORT, there’s a slide that reads: "ITU-R Recommendation BT.709 = Rec.709 = BT.1886 = sRGB" “Different names, same gamut." Only BT.1886 is not a gamut. A gamut defines the range of colors an imaging device can detect or reproduce—using specific xy coordinates for red,... Continue Reading →
HDR Is Simultaneous, Not Segregated
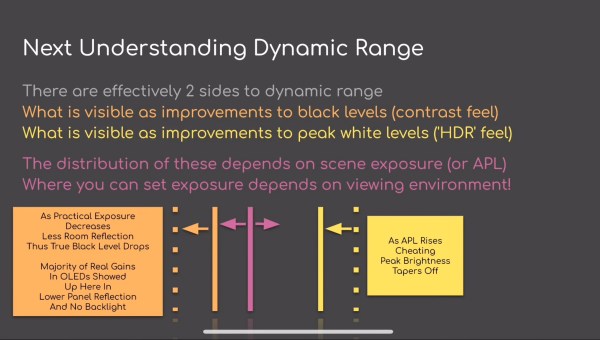
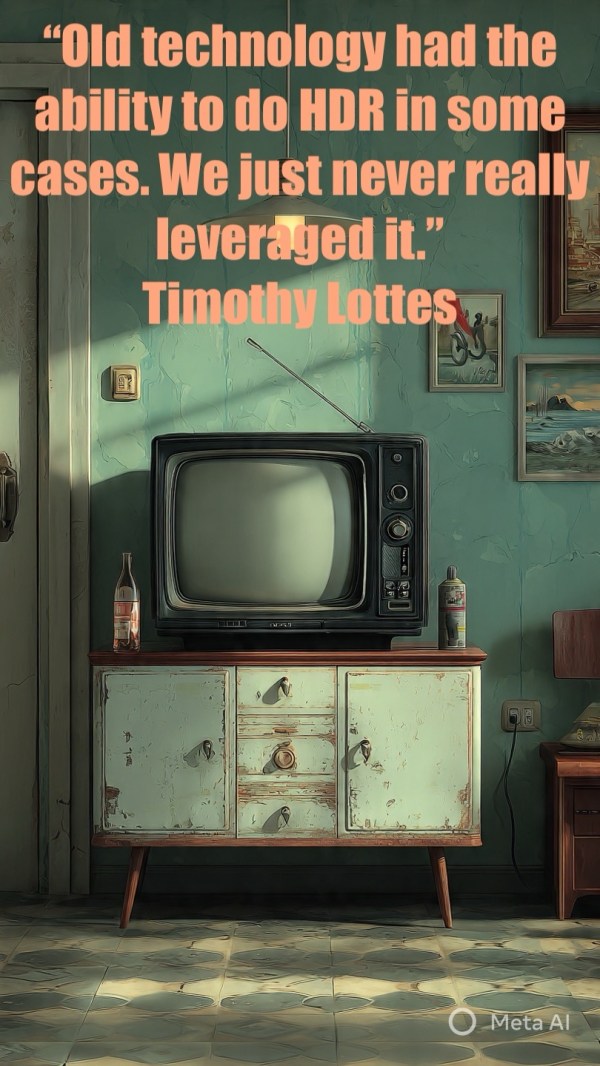
Timothy Lottes's attempt to rebrand black-level improvements as "contrast feel" while reducing HDR to a one-dimensional "peak white feel" reveals a fundamental misunderstanding of the technology and its perceptual basis. He splits HDR into two sides, when in reality, HDR is defined as the expansion of both ends of the spectrum simultaneously. Contrast vs. Black... Continue Reading →
Timothy Lottes: A 1,200-Nit Gaming Monitor Has “No Perceptual Impact”
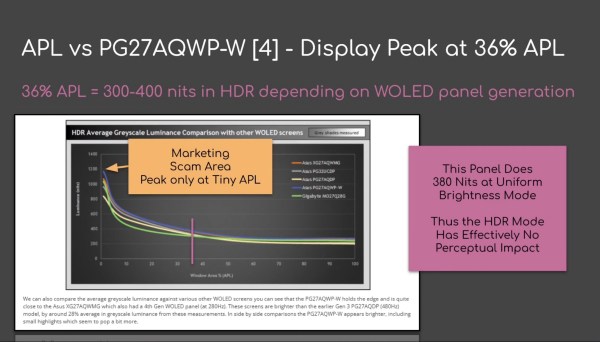
Timothy Lottes claims that the HDR Mode of the ASUS PG27AQWP-W gaming monitor “has effectively no perceptual impact” owing to a peak luminance limited to a few percent window [1]. Lottes provides no perceptual rationale to support his claim. FACTS: Real HDR highlights are tiny. LG Display found that 90% of peak highlights in real... Continue Reading →
You Can’t Invert Starry Night (ACES 2.0)
ACES 2.0’s goal of “invertibility” to make HDR match SDR is philosophically flawed. It leads to compromised image quality and enables a workflow where creatives avoid engaging with HDR. Invertibility In 2024, the ACES Project Co-chair announced a breakthrough—ACES 2.0 was finally “invertible”: “the number one item that we collected during our 'listening tour' was... Continue Reading →
ACES 2.0 “We are in for some further years of bad HDR!”
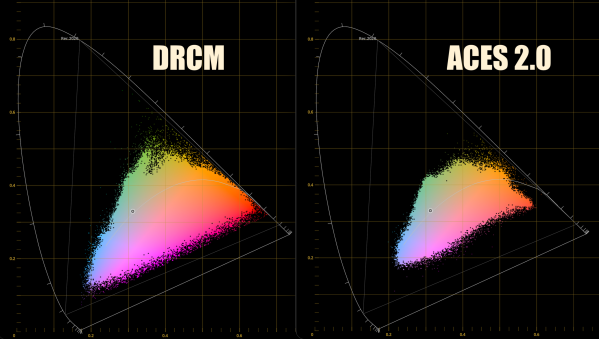
Comparison: ACES 2.0 vs Resolve Color Management
When Delivering Dolby Vision Profile 8.4, Don’t Make These Rookie Mistakes
Scott McIntyre, a BMD Resolve Certified Trainer, CSC Associate Member, Colorist Society International Alliance Member and Dolby Vision Certified Professional, shared a video that claims to show how to use Resolve Color Management to send an HDR file to Vimeo with Dolby Vision Dynamic Metadata using H265 and Profile 8.4. It is best ignored and... Continue Reading →
Protecting Highlights: The Philosophy Behind Autumn Durald Arkapaw’s Approach to “Sinners”
There's a moment in the conversation between Dolby Creator Talks producer Michael Coleman and cinematographer Autumn Durald Arkapaw that caught me completely off guard. Coleman describes watching a scene in "Sinners" where Smoke (Michael B. Jordan) enters a general store and he was overcome with gratitude: "Thank God we can see out in the street—like,... Continue Reading →
Tribalism & The Reactionary Mindset
“Yedlin doesn't seem interested in anything beyond the SDR standard. Which is fine, it's his choice, but his presentation is extremely biased in favor of his preference, often omitting or bending the facts to serve his arguments. This is, functionally, a TED Talk masquerading as a SIGGRAPH presentation, if he wants to walk the walk... Continue Reading →
Timothy Lottes Anti-HDR Rant
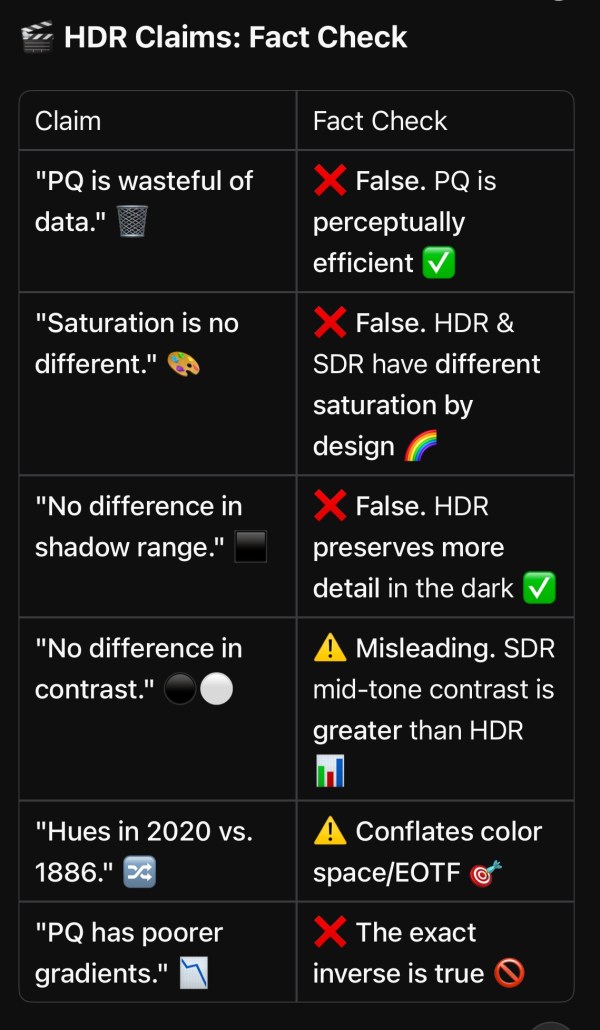
On December 19, Timothy Lottes responded [1] to a Wccftech article [2] profiling graphics programmer Filippo Tarpini with a series of highly misleading claims about HDR. We break it down. CLAIM: “The room environment is the primary thing that determines what the screen looks like.” FACT CHECK: Largely true. You need both a capable HDR... Continue Reading →
Digital Foundry Spreads HDR Misconceptions
Viewer Comment | Digital Foundry Channel In a recent Digital Foundry episode, during a discussion of a Wccftech article profiling graphics programmer Filippo Tarpini, host Oliver Mackenzie made a staggering number of questionable, misleading, or inaccurate statements. We correct the record. “High brightness displays can display HDR and SDR signals.” False. Only HDR displays can properly... Continue Reading →
The Top-Down Approach
Step #1 in HDR grading is defining the project’s ‘speed limit’ and highlight roll-off. Highlights dictate perceptual hierarchy. Shadows are subordinate. SDR-centric grading cripples HDR’s DNA. Start at the top. 1. What does setting a speed limit mean? Setting a speed limit means defining your target peak brightness (in nits) and highlight roll-off philosophy early... Continue Reading →
Highlights Aren’t Islands
Sony European Imaging Ambassador Alister Chapman uses his platform to promote categorically false claims about HDR: “It's only when you have specular highlights and direct light sources in the scene that are brighter than diffuse white that any differences start to become apparent. The entire image doesn't change, only these highlights do…” - Alister Chapman,... Continue Reading →
The HDR Misinformation Field Guide
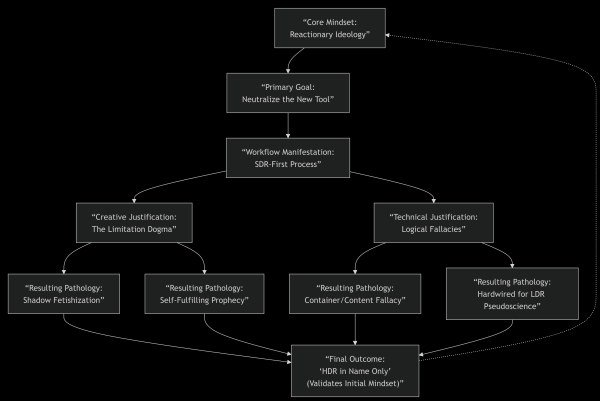
The flowchart above maps the self-reinforcing system of reactionary HDR pathologies. The following sections define and dismantle each weapon in this arsenal. The Reactionary Mindset A reactionary position isn’t simply about preferring old tools: it’s about idealizing the past, viewing change as a detriment and moralizing technology. Direct Quote: “…the things that are actually different... Continue Reading →
The Foundation of Sky’s Technical Specification (Or Why 100 Nits Is Not HDR)
“The only line that can be drawn objectively is SDR’s 100 nits. Anything above that in principle is HDR.” Yoeri Geutskens, “We Need to Talk About HDR”. FlatpanelsHD (Oct. 2020) “It is perfectly acceptable to deliver scenes or projects at 100 nits or less in an HDR delivery.” Kevin Shaw, CSI, LinkedIn comment (Nov. 2025)... Continue Reading →
Sky’s Got A Clause For That
Sky UK's Technical Specification for Delivery of Content represents a rigorous, policy-driven approach to HDR that directly addresses the epidemic of “HDR in name only." The specification is unique in tying technical delivery requirements to creative intent and perceptual impact—a bond other streamers’ specs omit. A strict policy on paper doesn’t guarantee perfect compliance in... Continue Reading →
Sony Ambassador Alister Chapman’s HDR Claims Debunked, Part II
Sony European Imaging Ambassador Alister Chapman uses his platform to promote categorically false claims about HDR. We break them down using the international standards, colorist testimonials, research data, and studio policies. Industry standards, studios and professionals reject the simplistic “HDR = Brighter + More Colorful” claim. The “Brighter, More Colorful” Fallacy QUOTE: “When the first... Continue Reading →
Sony Ambassador Alister Chapman’s HDR Claims Debunked, Part I
Sony European Imaging Ambassador Alister Chapman uses his platform to promote categorically false claims about HDR. We dismantle them one-by-one using the standards themselves. The Data Efficiency Argument QUOTE: “PQ is very wasteful of data as it's designed around theoretical 10,000 Nit displays whereas BT1886 is designed for displays that actually exist.” — Alister Chapman... Continue Reading →
DaVinci Resolve Certified Trainer Spreads Disinformation
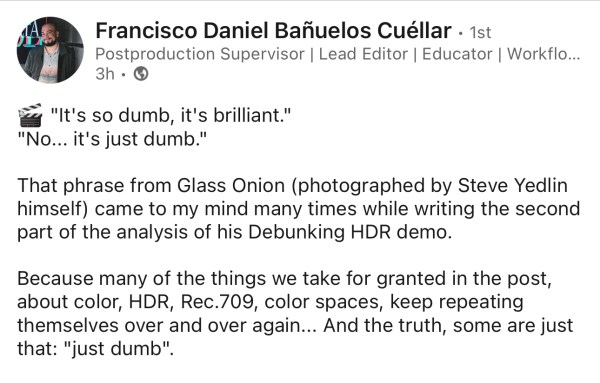
In an article unironically titled Don't repeat these mistakes about color spaces and HDR: insights from the demo "Debunking HDR" by Steve Yedlin (Part 2),” Daniel Bañuelos Cuéllar, a lead editor and post-production supervisor who specializes in HDR workflows and color management, shared some takeaways after watching Yedlin’s presentation. We unpack just a few of... Continue Reading →
Kelly’s “Creative Potential” of HDR: Diagnosis of a Broken Pipeline
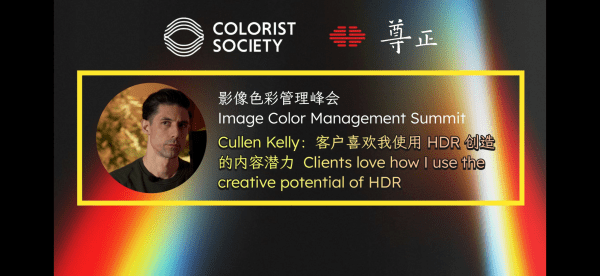
"As we've already emphasized this evening, even delineating HDR and SDR is a bit of a false dichotomy… I like to… start with a standard dynamic range rendering [1] of an image within an HDR container and then to slowly lift the veil… and allow my client to say 'Oh! I like that,' or… 'Wow!... Continue Reading →
Conflating Specs & Why Reductionism Is So Seductive
“Display P3 is the color space that Apple computer monitors use. The monitor itself is Display P3, but very often it’s receiving Rec.1886 and just converting it to P3. Rec.2020 is exactly the same as Rec.1886, but with a wider color gamut. sRGB is also exactly the same as Rec.1886, but with a slightly different... Continue Reading →
