Conundrum. The chart plots judder equivalence vs. luminance for various panning speeds, demonstrating how motion artifacts like judder are exacerbated when shooting high contrast images in HDR, the takeaway being to pan more slowly if you intend to deliver in HDR. At the same time, because of their nearly instantaneous response times, OLED panels are... Continue Reading →
Neon & LED
For the longest time, colorists have had to deal with the garish digital color processing of neon and LED lights, particularly those of the emergency vehicles, police cars and taillights seen in so many crime shows. Also, at the dawn of digital cinema, LED lights were seldom seen on sets, whereas today, they are commonplace.... Continue Reading →
Why HDR10 Doesn’t Have Terrible Banding
The PQ EOTF, standardized as SMPTE ST-2084, is used for both Dolby Vision and HDR10, only the former stipulates 12 bits while the latter uses a 10-bit version of PQ. Take this quiz to test your knowlege: why doesn’t most HDR10 content suffer from appalling banding artifacts? Choose from among one or more of the... Continue Reading →
RED Komodo Grade Reveal
The clip incorporates many of the techniques discussed in our Monster guide - the most comprehensive and up-to-date free resource on the Internet for HDR10 workflows in DaVinci Resolve Studio 18 that shows how to use false color to nail exposure every time; how to use HSL to selectively target problematic areas for the best... Continue Reading →
Cullen Kelly on Correcting Skin Tones
"In the last five years I have maybe pulled one key for skin. I will avoid it at basically all costs. It's just upside down, it's wagging the dog. What are we trying to make look good with our primaries if not skin? Skin should be like bullseye, dead-on, by the time we've moved on... Continue Reading →
Easiest Way to Fix Skin Tones in DaVinci Resolve
We’ve squandered years watching useless YouTube tutorials on balancing shots and correcting skin tones, futzing around with the color wheels, power masks and hue versus hue, but it's always taken forever, we were always guessing and we were never completely satisfied with the results. So here's what we’re doing now - it's completely predictable, repeatable... Continue Reading →
Cinematic!
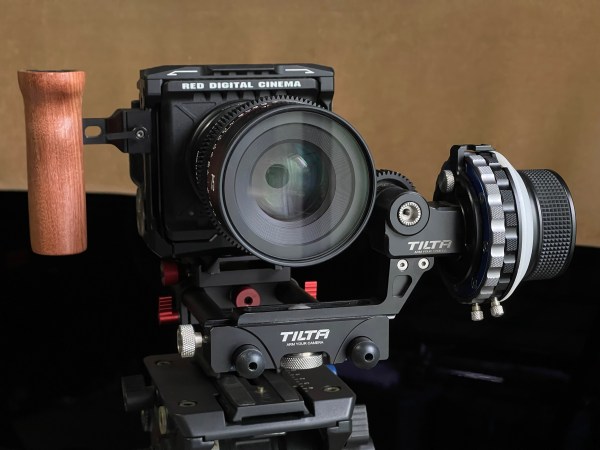
This 19th century style follow focus has been gathering dust in the closet for five years. It's got A/B hard stops and comes with a crank and a whip for smoother focus pulls, so hopefully it's idiot-proof, which didn't prevent me from putting it on backwards! I ordered a SmallRig lens support this afternoon, so... Continue Reading →
RAW: An Often Overlooked Advantage
In our Monster guide, we lay out no fewer than a half dozen reasons why you should be shooting RAW, but there’s yet one more seldom discussed advantage: when shooting log, the quality of the file is completely at the mercy of the camera’s internal encoder, meaning that it’s not possible to improve upon this... Continue Reading →
Anna
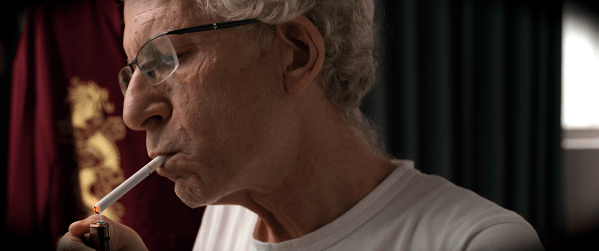
Don't let the thumbnail deceive you - you can see our bouncy gimbal work in the video. This was only the second time we’ve bothered to calibrate the sensor before a shoot. Up next - trying to figure out a workable follow focus solution for the set of Meike lenses. https://youtu.be/xKzpW0ctQdw
Learn HDR & DV From Senior Colorist Cullen Kelly
Cullen Kelly will be hosting a free training session with Blackmagic Design entitled‘Exploring HDR & Dolby Vision with DaVinci Resolve’Aug 18, 2022 10:00 AMPacific Time (US and Canada)This “ watch & learn” session will teach you how to create and deliver a finished Dolby Vision Master from Resolve 18! Register now at https://us02web.zoom.us/webinar/register/WN_Q6k-gU7MSjm-woSNvoXmEQ Agenda items... Continue Reading →
Our Kolari Filters Arrive!
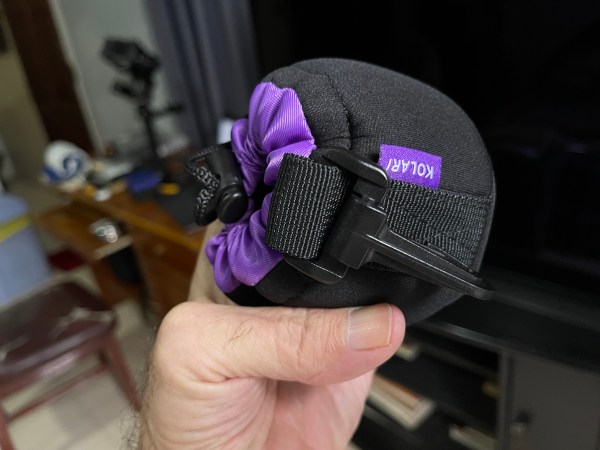
The Kolari drop-in ND filter adapter for RF mount, along with a set of filters, arrived yesterday, so we won’t have to shoot at f/16 all the time. The KipperTie Revolva with three ND filters and one clear filter runs $1,574, the Kolari with the same filters costs around $625, a savings of almost $1,000.
Komodos Galore on Netflix Action-Comedy
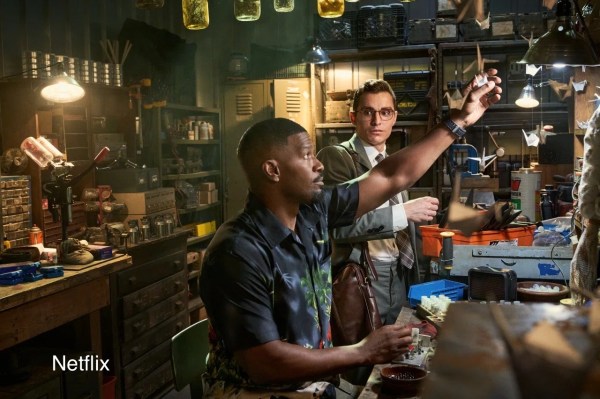
“Some days on Day Shift we deployed four RED MONSTROS and 10 KOMODOs plus. For scenes with pyrotechnics, we’d add more KOMODOs. Sometimes we rolled 20 cameras.” - DP Toby Oliver on Netflix vampire flick “Day Shift” Not something we're interested in watching, but you can read more from Oliver here.
Noise Reduction in DaVinci Resolve
De-noising is unquestionably high on the list of operations we like the least when it comes to post-production. For one thing, it's extremely taxing on computers, which is why we disable the noise reduction node until we're ready to render the entire project. For another, used incorrectly, it can introduce unwanted artifacts and destroy important... Continue Reading →
Cine EI Pushback From Inmates in an Asylum
Sony's Cine EI - just like ARRI, Canon, Panavision, Blackmagic, RED, Kinefinity and every other cinema camera manufacturer's EI - allows you to prioritize shadows or highlights by allocating more stops of dynamic range, or latitude, above or below middle gray, and letting the photographer preview its effect using monitor LUTs, giving an indication of... Continue Reading →
Increase Saturation Like a Pro
Ever notice how increasing the saturation of your footage just makes it look more video-ish? Instead of using the saturation knob to increase saturation, how about trying out this method instead: 1. Add a node, right click > Color Space > HSV. 2. Right click again, > Channels > Channel 1 (uncheck). Right click again... Continue Reading →
FX3 Netflix Approved
As a result of massive firmware update 2.00 that enables timecode, Cine EI and a number of other noteworthy improvements, the FX3 has joined the coveted list of Netflix Approved cameras. This is the first time we recall seeing the Ninja V mentioned in connection with a Netflix Production Guide, meaning that recording ProRes RAW... Continue Reading →
A Must-Listen: Cullen Kelly Talks About PFE
To the best of our knowledge, the brilliant Cullen Kelly is the only colorist who consistently addresses film emulation and the implications of HDR WCG. https://daejeonchronicles.com/2022/01/05/cullen-kelly-disentangles-pfe-befuddlement/
Create Color Separation & Textural Depth in DR18
Note: The video should be watched in a pitch-dark room. HDR is supposed to be graded in an environment with ambient lighting at 5 nits, which might help to explain why so many complain about HDR being so dark. Unlike SDR, the PQ curve is absolute, meaning that, unlike SDR, the image can't be made... Continue Reading →

