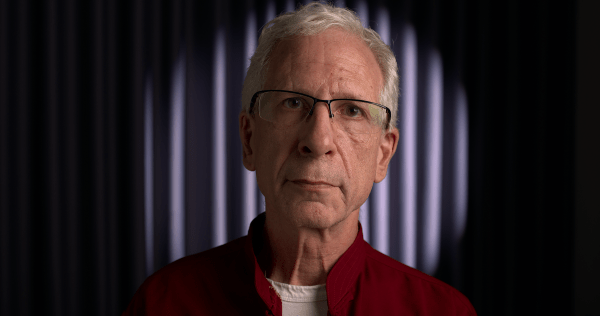
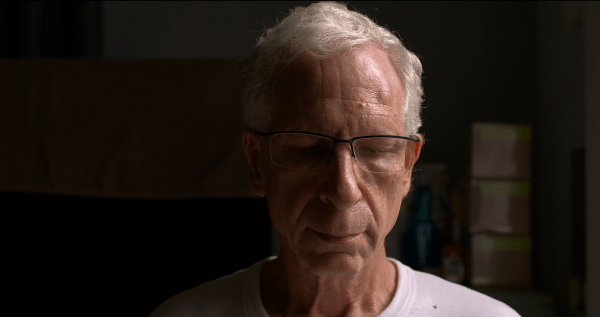
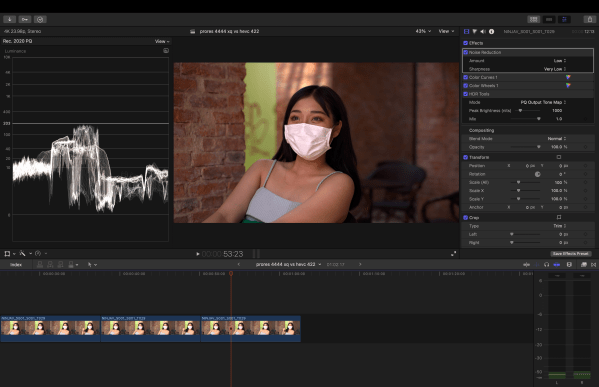
In this test, we compare HEVC bitrate 39,000 kbps (which ended up being 22.6 Mb/s), HEVC bitrate 80,000 kbps (which turned out to be 46.3Mb/s overall bitrate ) and ProRes 4444 XQ. To compare the clips yourself, open up the videos in three different tabs of your browser. As of today, we officially bid farewell... Continue Reading →
HEVC 10-bit 4:2:2 vs. ProRes 4444 XQ to YT
If you don't mind the ginormous file sizes and waiting longer for YouTube to finish uploading and processing your video, ProRes 4444 XQ does offer benefits over HEVC 10-bit 4:2:2 (using the standard bitrate for web publishing in Apple Compressor): more detail and improved contrast as well as richer color. In the sample clip, there... Continue Reading →
Apple Compressor HEVC 10-bit 4:2:2 Is a Memory Hog
Since Apple added HEVC 10-bit 4:2:2 to Compressor, we thought we'd look into how it impacts memory pressure on our M1 Max MacBook Pro with 32GB RAM. For the test, all apps were closed except for Final Cut Pro, Compressor and the Activity Monitor. We transcoded a one-minute ProRes RAW clip with minimal noise reduction... Continue Reading →
Create Textural Depth with Depth Map
Grain is one of the key components of the film look but few things are more distracting than seeing clumps of film grain dancing around on the talent's face. One solution is to use the HSL qualifier to isolate skin tones and use the keyer to de-emphasize the grain. An even easier way is to... Continue Reading →
The Ultimate Comparison: ProRes 4444 XQ vs. HEVC 4:2:2 vs. HEVC 4:2:0 (HDR)
In this short clip, we're primarily interested in how Y'CbCr chroma subsampling affects skin tones in HDR video. Y'CbCr results in hue shifts and luminance errors. From our own testing, it appears to make skin tones yellowish-green, darker and oversaturated. HEVC Main 4:2:2 10 is preferable to HEVC 4:2:0. Download the comparison here. If you... Continue Reading →
DaVinci Resolve Studio 18 Depth Map Comparison
We applied the depth map, then went ahead and added some blur.
Thoughts on Nikolaj Pognerebko’s RAW Convertor (Revised!)
https://youtu.be/if7IzD9tl4w Not a few of us have dreamed of being able to work with native ProRes RAW files in DaVinci Resolve, but realistically, it appears as though that’s not on the horizon. We'd been transcoding to ProRes 4444 with variable success for a while when it was announced last year that a Czech filmmaker by... Continue Reading →
Teaching Daily Routines
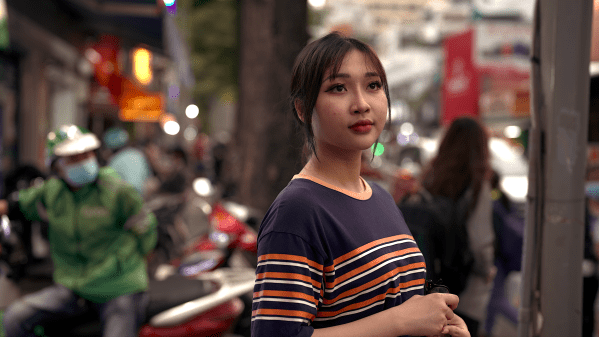
One of the twenty-eight classes I teach each week in Ho Chi Minh City. I consider myself lucky, since many foreigners had to leave the country because of tightened restrictions on visas or loss of employment opportunities, including a large community of Ukranians.
Create Textural Depth II
The viewer’s eye can be drawn to the subject in a number of ways. Two of the techniques employed here are color separation, achieved through split-toning, and obscuring the surroundings using a mask and reducing brightness. Another approach is to create textural depth by accentuating the texture in cooler, darker backgrounds while de-emphasizing grain in... Continue Reading →
Projector Central Weighs in on 4:2:0
Over at Projector Central, Michael J. McNamara, former Executive Technology Editor of Popular Photography magazine and a renowned expert on digital capture, storage, and display technologies writes: “Does using 4:2:0 subsampling significantly degrade image quality for movie viewing versus using 4:2:2? Not according to most viewers who've enjoyed any number of 4K UHD SDR and... Continue Reading →
Create Textural Depth!
During an appearance on Cullen Kelly’s Grade School, the brilliant colorist Jill Bogdanowicz revealed a secret to accenting texture without it looking over-processed. While working on Joker, the colorist used Live Grain - which separates out the red, green and blue channels, creating grain that resembles scanned film - to accentuate texture in the cooler,... Continue Reading →
Not A Grade Reveal!
A few caveats: first, the original footage was green and overexposed; secondly, we didn't use the recommended DaVinci Wide Gamut; and lastly, as we do all of our grading before the LUT, the original footage looked nuts when we removed the LUT for the grade reveal, so we normalized it for the video. https://youtu.be/3Bv3RUGbwEc
Massive LUTs Required for HDR
According to at least one study, in order to achieve a comparably error-free 3D-LUT to those used for SDR, a LUT size larger than 55x55x55 is required for 12-bit HDR (Rec.2020 ST2084). "In 10-bit SDR, in order to achieve unnoticeable interpolation errors using the trilinear interpolation method, a 3D-LUT larger than 41×41×41 is necessary. However,... Continue Reading →
DaVinci Resolve Update Fixes HDR Controls Bug
DaVinci Resolve firmware update 17.4.6 addresses an issue that caused the app to crash when using some of the HDR controls with Apple Silicon. Prior to the update, clicking on any of the range indicators in the HDR palette - the small icon to the upper left of each of the HDR wheels that allows... Continue Reading →
Apple’s Studio Display Unsuitable for Video Editing
Author, consultant, pro audio/video specialist, tech journalist and broadcaster Allan Tépper voices his suspicions that Apple’s Studio Display is not a true 10-bit panel at all but 8-bit FRC and discovers that it is limited to a single framerate/refresh rate, making it a much less attractive proposition for video editing/grading. “Despite it’s raved internal speakers... Continue Reading →
Don’t Buy an M1 Max Mac Studio!
For video editing, the MacBook Pro has virtually the same performance as the desktop, plus you get the great keyboard and the best display found on any laptop on the market today. https://youtu.be/V8lc3ORcFL4
Why We No Longer Make Recommendations for Hybrid Shooters
This comment by a frustrated reader over at DPReview that we just came across illustrates why we no longer make recommendations for those wanting to use a hybrid camera for both stills photography and video. There are just too many features, like burst rates, pixel shift, auto bracketing, EVF resolution, stills RAW formats and dozens... Continue Reading →
Generate MaxCLL and MaxFALL HDR10 Metadata in DaVinci Resolve
As consumer HDR displays have differing peak luminance and contrast capabilities that are not infrequently less than the mastering display, it's necessary to map PQ content to match the capabilities of the target consumer display device. This scaling or mapping is controlled and managed by metadata. According to YouTube's help page, "HDR videos must have... Continue Reading →
ICtCp, or Why We Can’t Have Nice Things
Here at the Daejeon Chronicles, we've tirelessly championed RAW for a long time now, for a multitude of reasons: it responds better to grading than heavily compressed, low bit rate chroma subsampled codecs and is less prone to banding; sharpening, noise reduction and white balance aren't baked into RAW files, giving more flexibility in post;... Continue Reading →
Grade Reveal & Download with Grain Added
This video is the culmination of the many changes we've made since around the time we switched over to P3-D65 - some tiny, some significant - from shooting S-Gamut3.cine rather than S-Gamut3, avoiding yellow in the false color guide of the Ninja V for anything but specular highlights, monitoring with video levels instead of full... Continue Reading →